Date Added: 1/10/2013
Updated: 20130614024144
Posted by:
Patrick
Author/Source:
Patrick
Viewed: 8639 times
In this article I will cover my 1997 F350 7.3 Powerstroke E4OD auto transmission to ZF5 manual swap.
Now when I got this truck all she would do is go in reverse so I figured the slush box is fried, and I hate a automatic anyhow, I can't fix them.
I did a ton of reading and shopping and finally decided on buying all the stuff I would need from a donor truck a guy was parting out on powerstrokenation.com.
I should mention this isn't my first diesel BUT the first one I have done more than oil change, I do have experience working with manuals (mostly Fords, so I'm used to the fun hydraulics this thing has to offer). During this swap I was also doing other things to the truck like a 3" downpipe install, which is perfect to do when the transmission is out.
I also made a partial video of the work, this was back when I was just getting started making how-to's and videos and I didn't record the whole process and once I decided to do so the battery gave up. https://www.youtube.com/watch?v=l-AQq2xlULM
Here are the parts you MUST have (minimum):
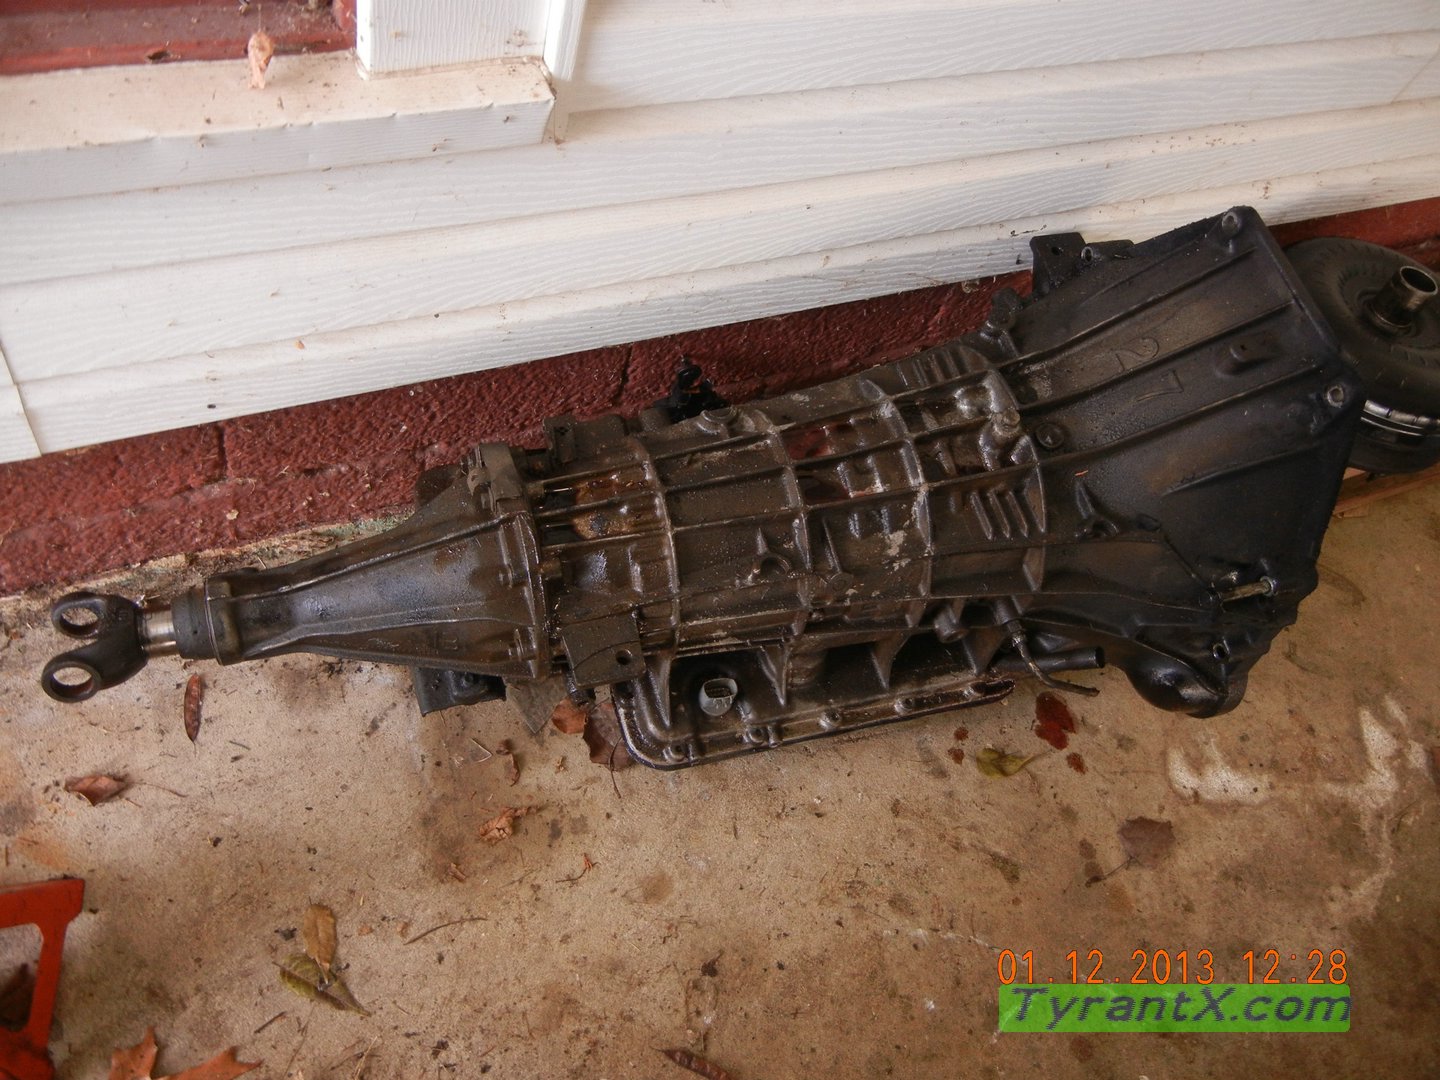
•ZF5 5speed (ZF-S42) ANY ZF5 will work as long as it is from a 7.3 PowerStroke
•clutch/brake pedal assembly - If you are doing a OBS then you MUST have the clutch and brake from a OBS, a SD will not work.
•clutch hydro lines, master, and slave cylinders
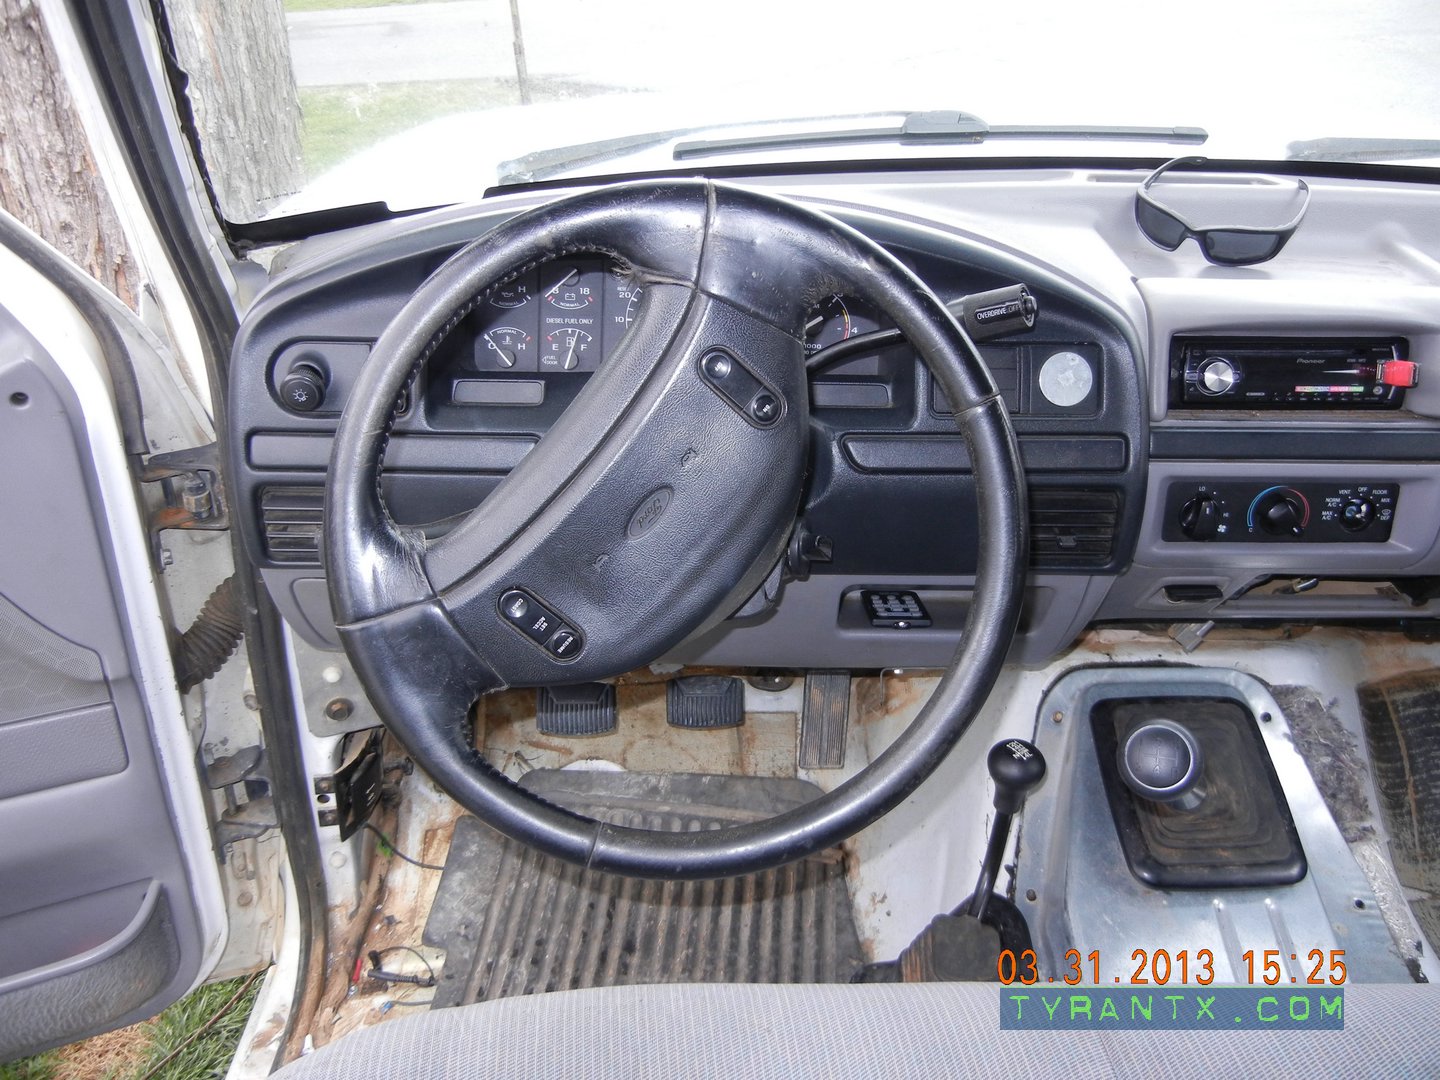
•shifter and boots
•clutch, flywheel, pressure plate. HOWEVER you will HAVE to get a clutch and flywheel setup that match your ENGINE, not the trans!
•cross member
•wiring - Only a few wires you can easily make your own if you can't find one easily or cheap.
•Driveshaft - Depending on if yours is going to be 4x2 or 4x4 you may need to have your shaft modified, my truck was a 4x2, it's going to be a 4x4 thus I'm having my driveshaft shortened.
To begin with, remove the old slusher:
•Dump AT fluid
•Disconnect AT cooler lines
•Remove dipstick
•Remove driveshaft(s)
•Remove inspection cover 4x 10mm bolts
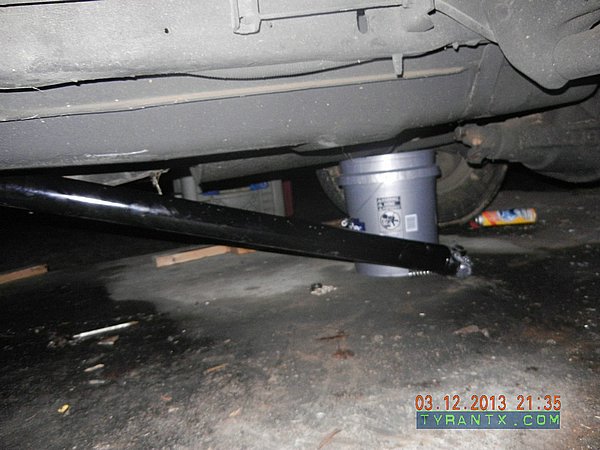
•Place jack under transmission
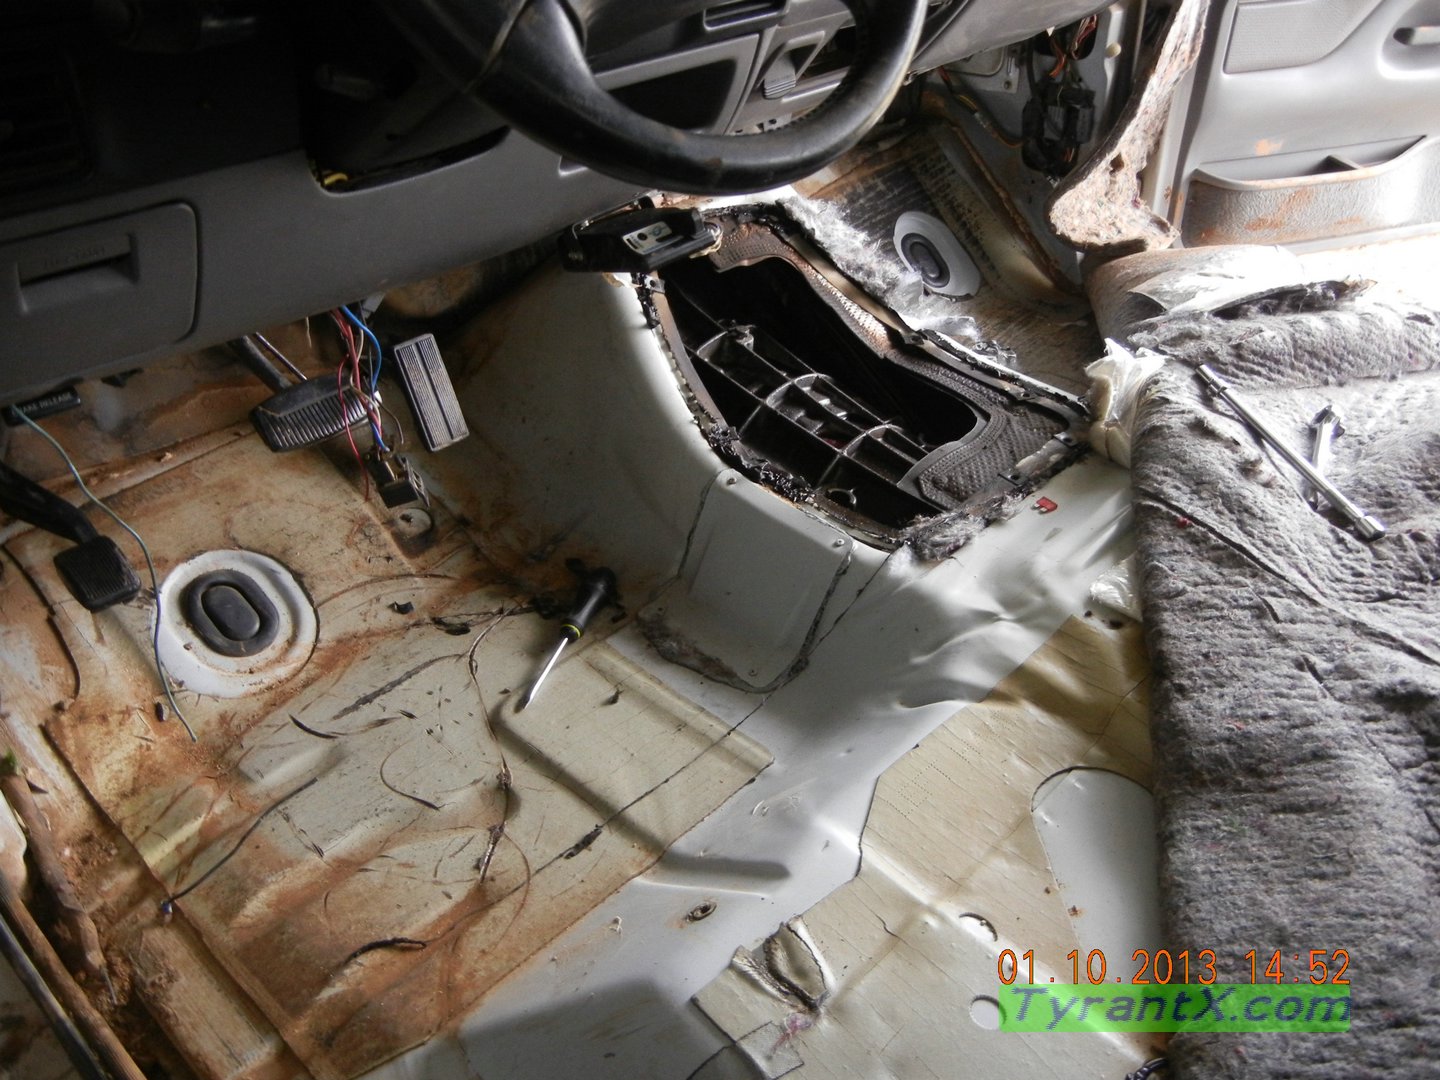
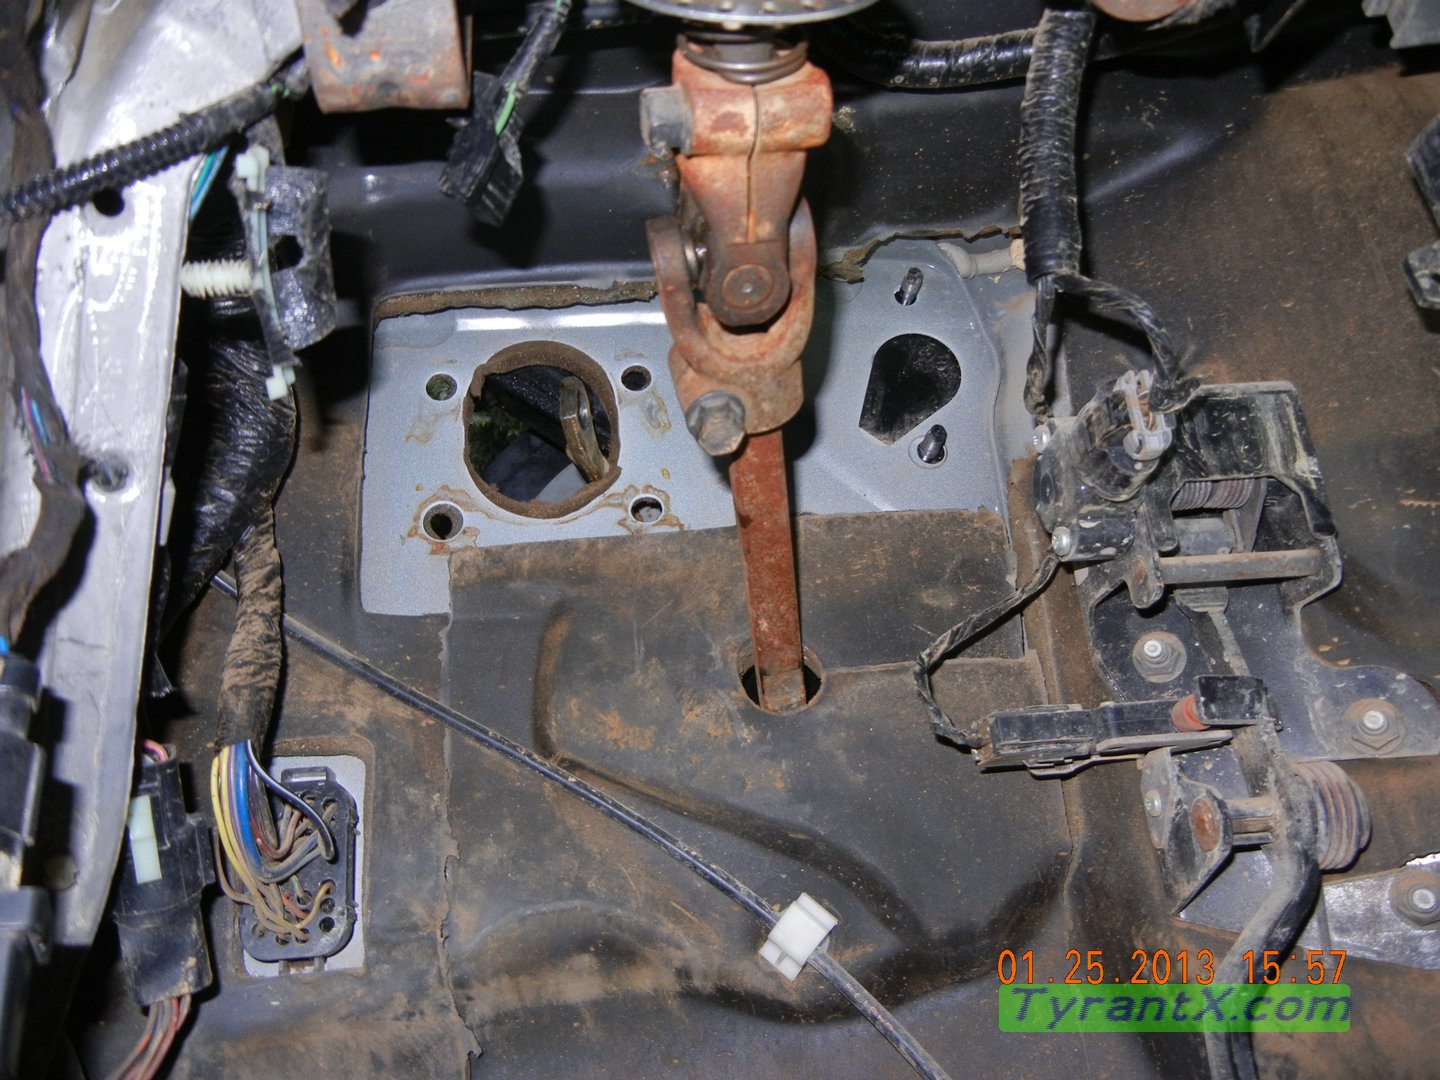
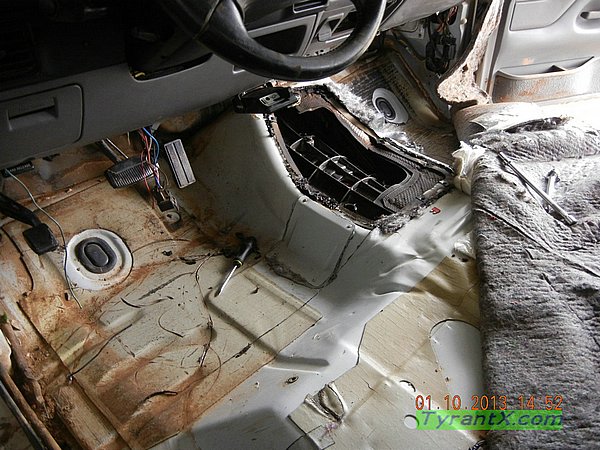
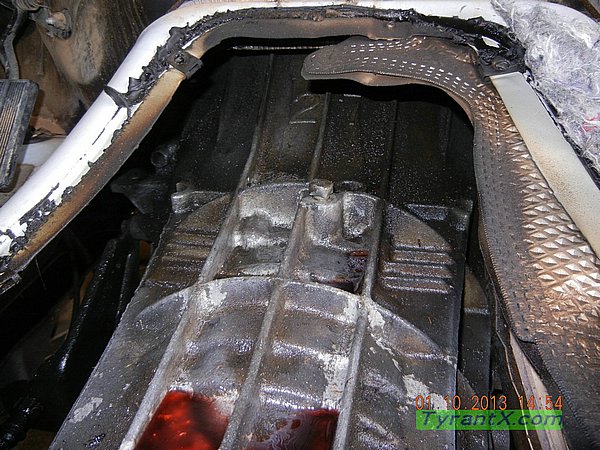
•Remove vehicle carpet to gain access to floor hump pan
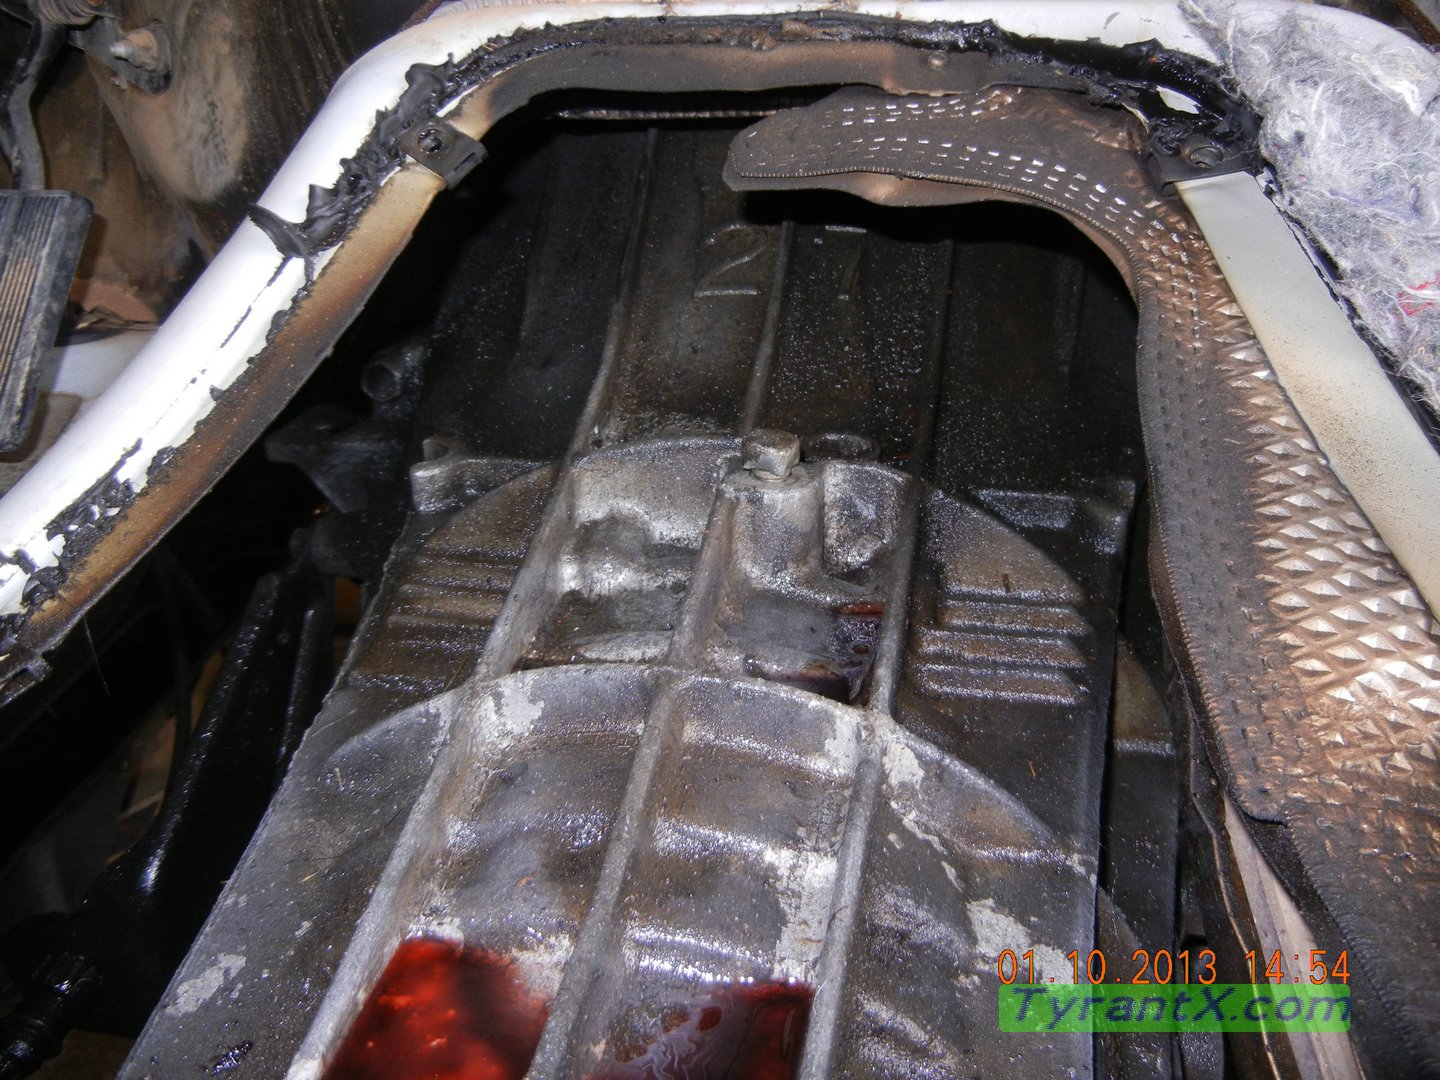
•Remove floor hump pan, it's bolted down by several Phillips screws, pry though the sealant and remove the pan.
•Unbolt torque converter 6x 13mm nuts
•Unbolt 6 transmission bolts (makes it easier if you remove the floor pan and do this from inside the cab IMHO) 6x 15mm bolts
•Disconnect shifter cable and transfer case linkage if equipped
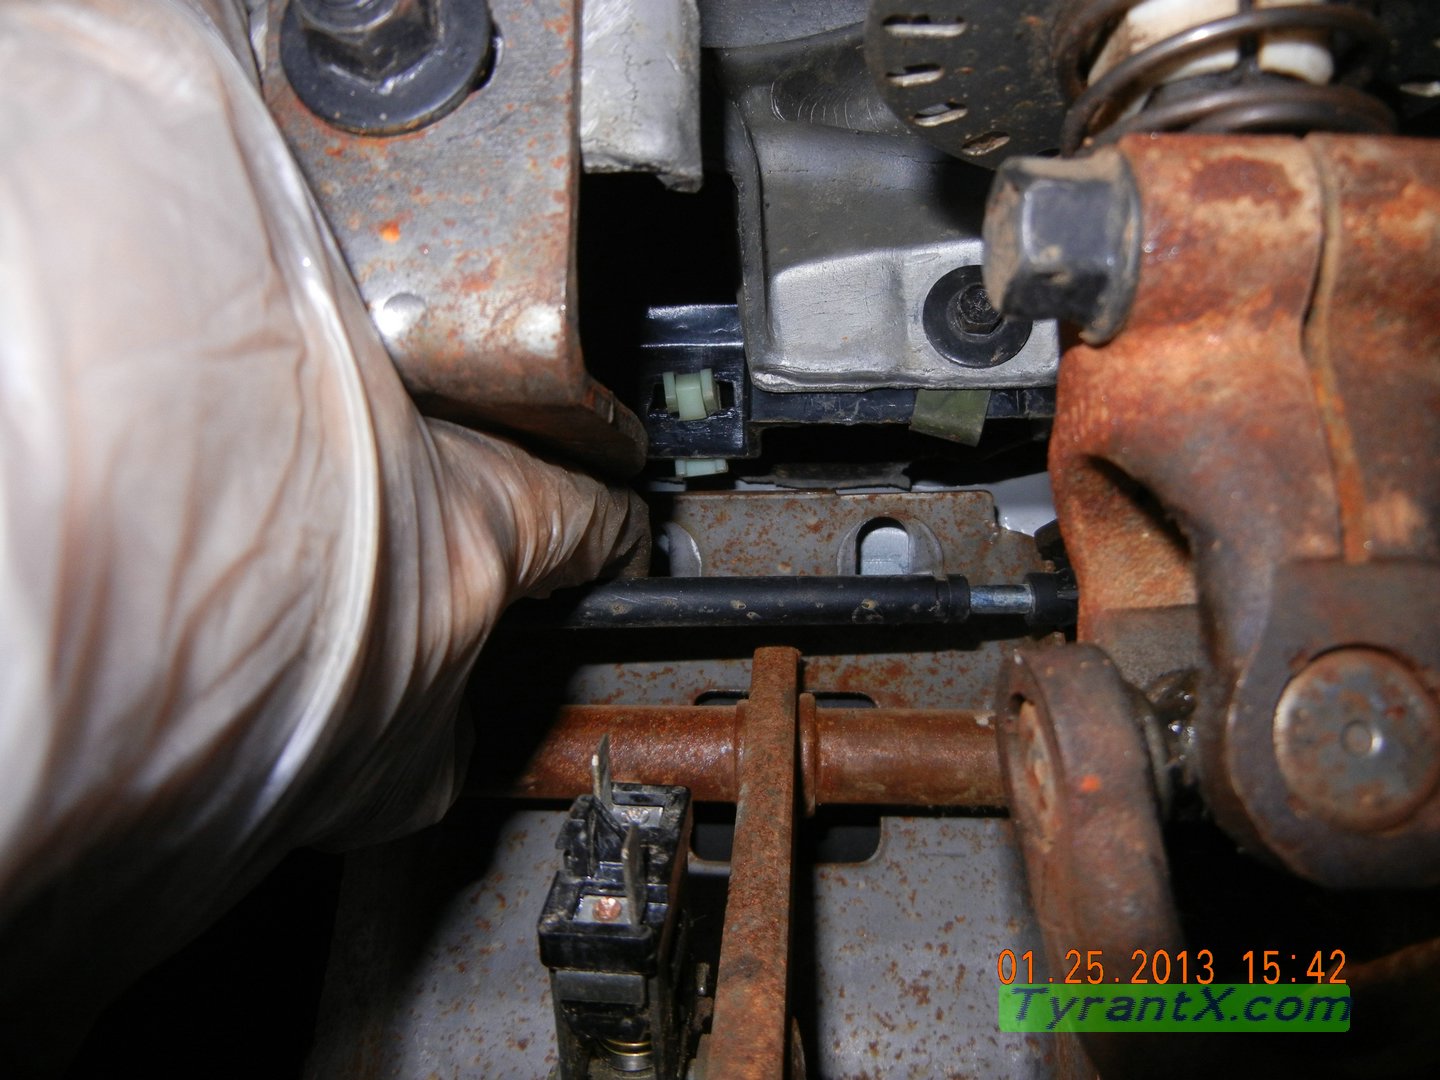
•Disconnect 2 wiring plugs and transfer case connector if equipped
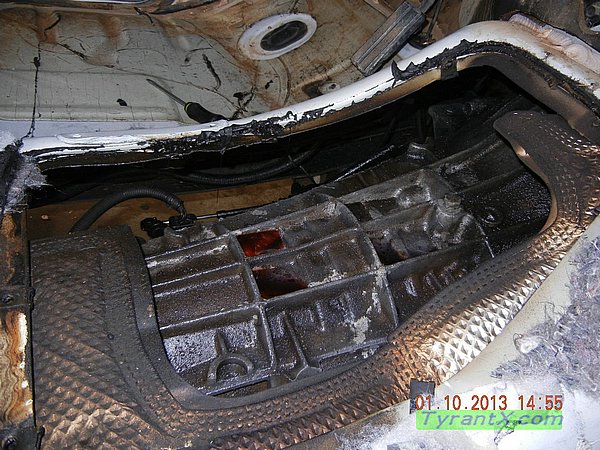
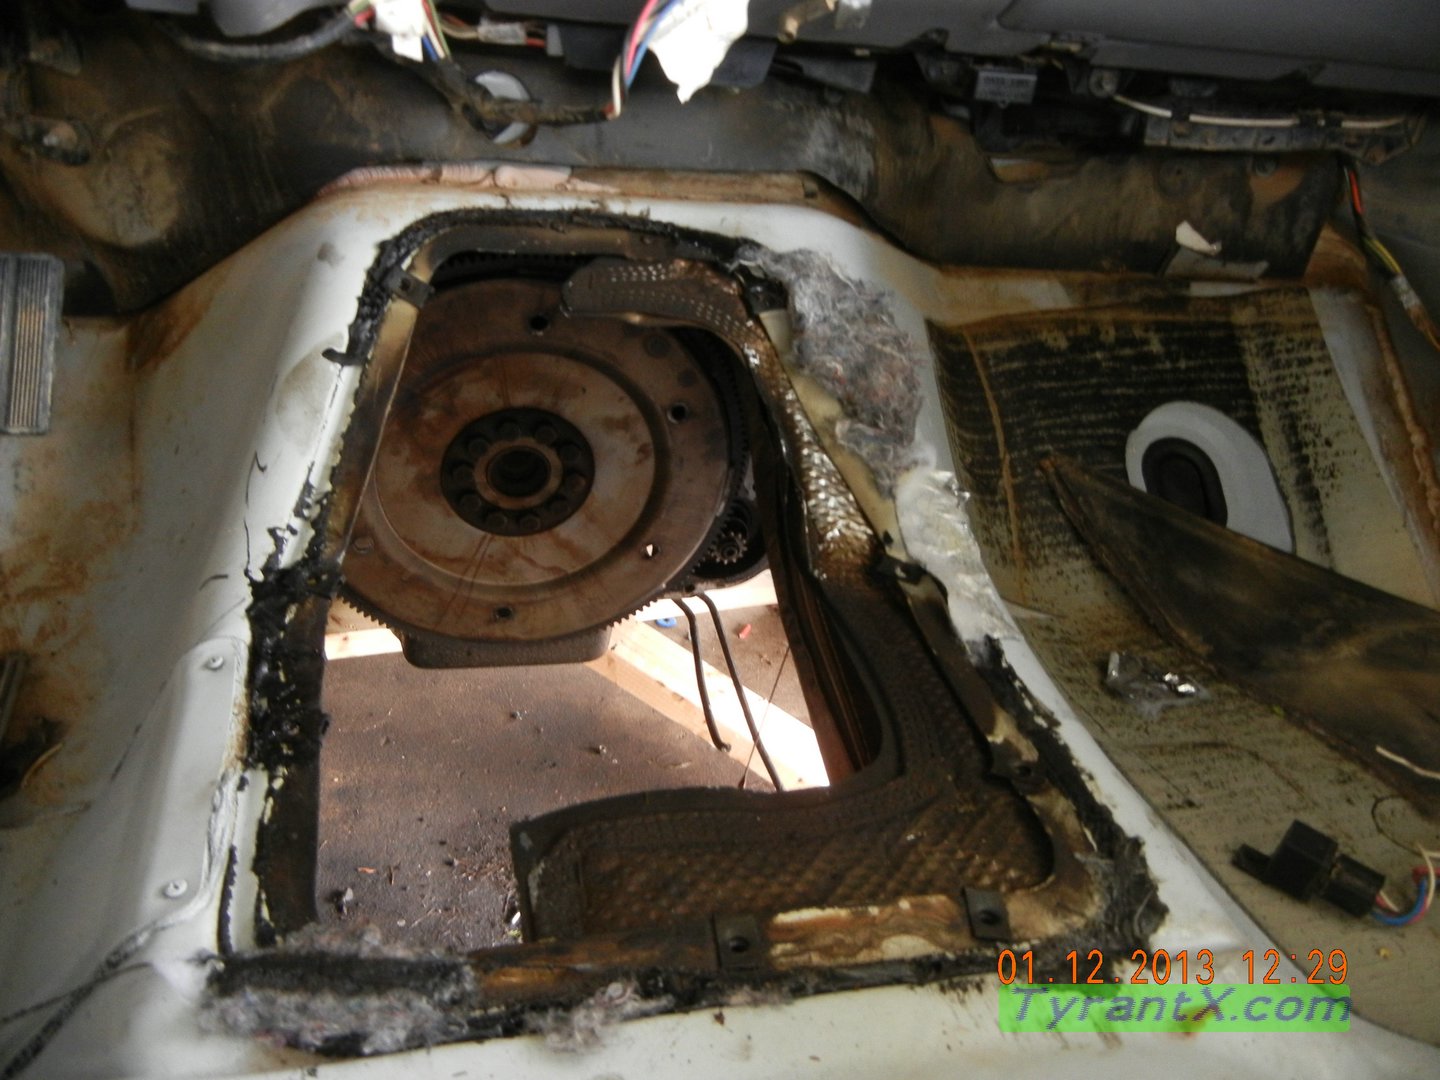
•Remove Automatic Slush machine
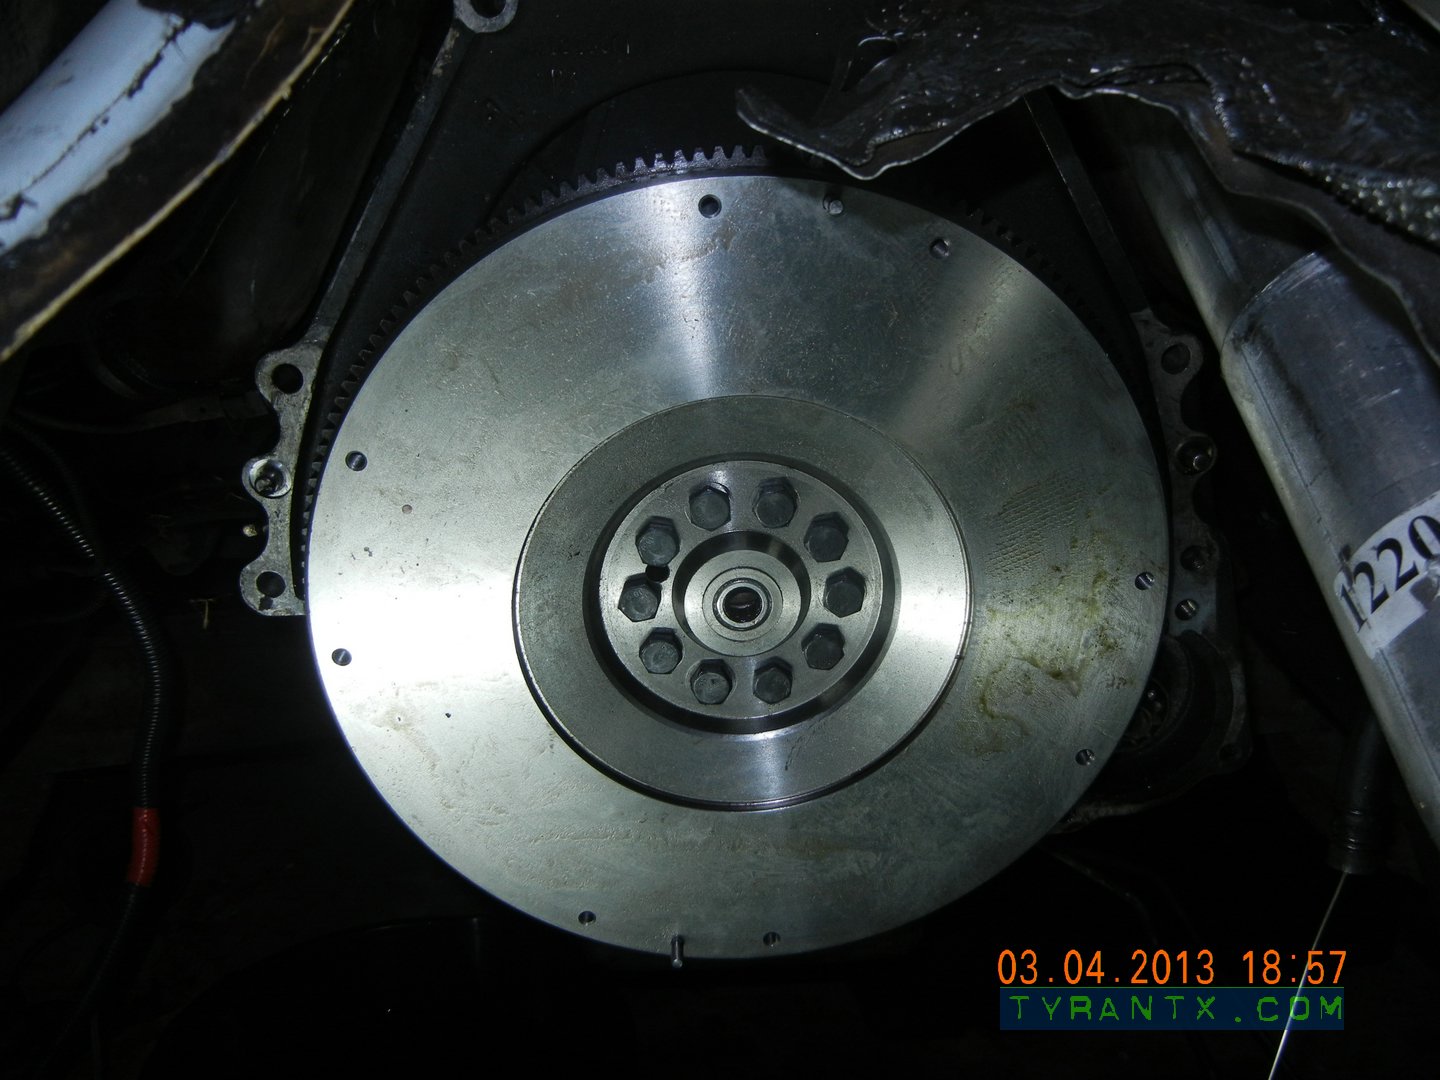
•Remove the flexplate, it's held on by 10 bolts and you might as well get a impact wrench to get them off.

•Remove 1" crack shaft to flexplate spacer
NOTES: DO NOT REMOVE THE ENGINE TO BELL HOUSING SPACER THAT THE STARTER IS BOLTED TO (IDIs will not fit a PSD!)
Sorry I did not take many pictures during the removal of the transmission.
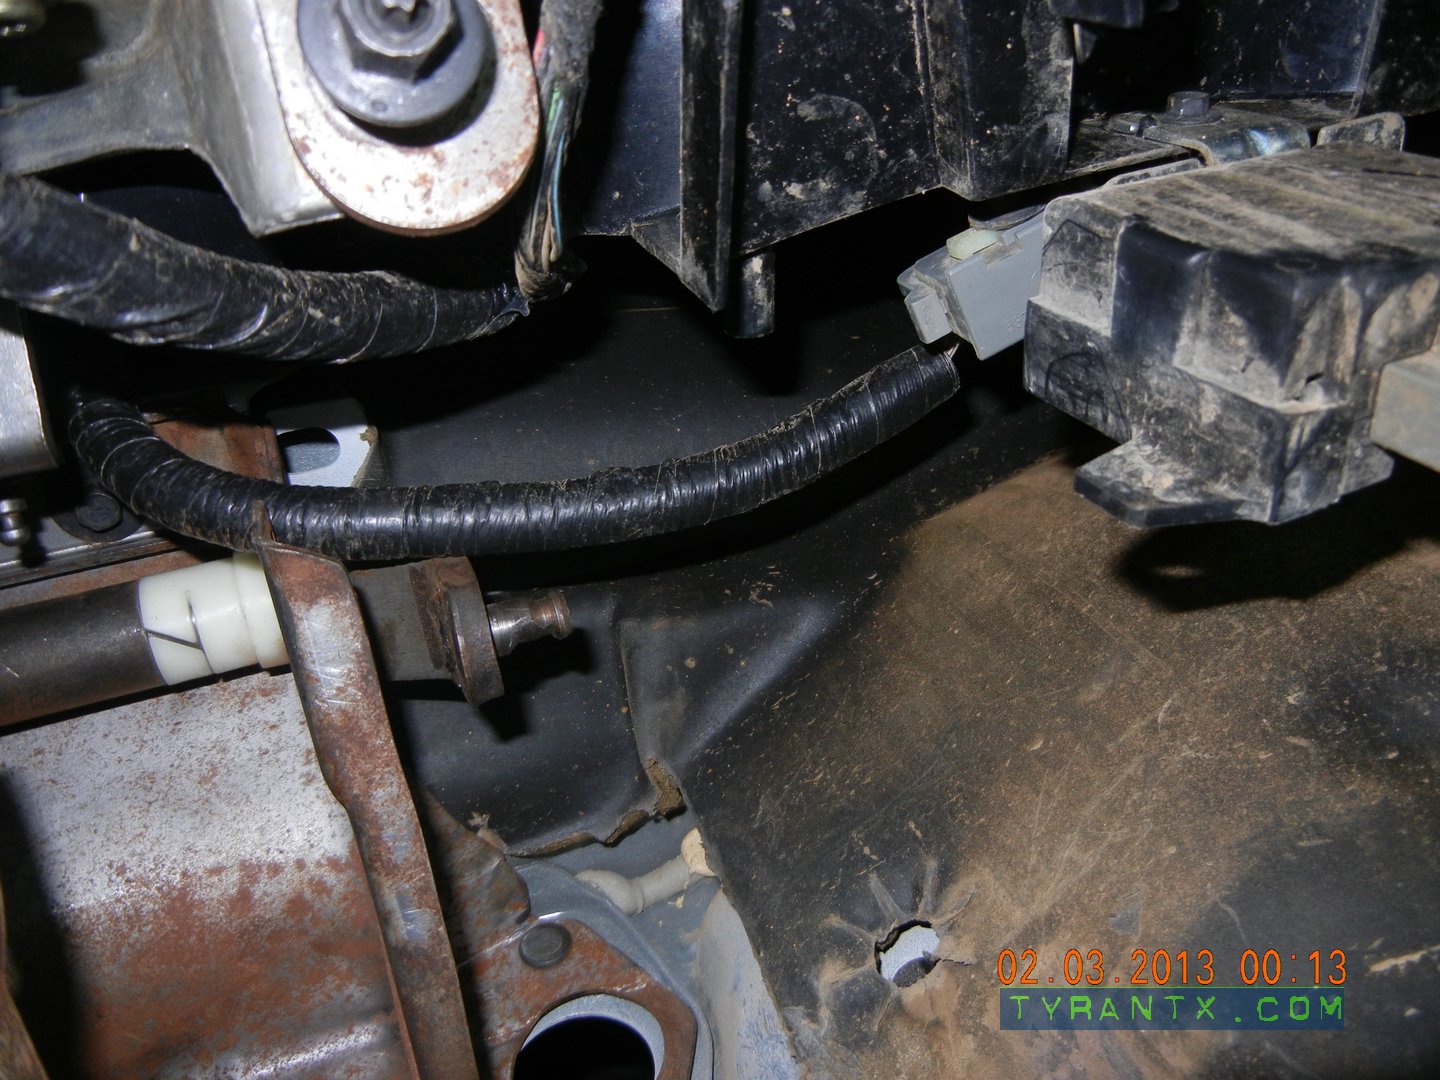
Wiring (if you are have the manual wiring harness):
•Unplug the AT harness by unplugging it from it's junction under the hood and in front of the brake booster on the wheel well.
•Remove the AT harness (2 plugs to disconnect) as a whole unit and discard.
•Plug the MT harness back up to the same large plug as the AT harness was and run the rest of the harness to where the transmission will be.
NOTES: you don't have to have the original harness, you can modify the AT one or make your own. There are just 2 wires for the back up switch and that's all that plugs in.
Pedals, removal and installation:
•Remove the connecting rod from the brake pedal
•Remove brake light switch and save for donor pedals
•Remove 4x 9/16" nuts from around the brake booster

•Remove 2x 10mm bolts that are on the top of the assembly.
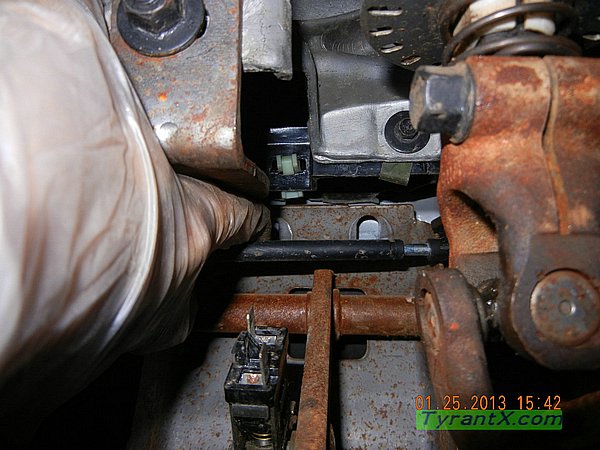
•Wiggle it on out and you are left with this.
•Remove the plate where the clutch master cylinder goes, just pry the sealant with a flat head screw drive and discard it.
•Install clutch/brake pedal assembly, slide assembly into place
NOTE: After loads of trying to jam the clutch/brake assembly in I decided the easiest was was, I removed the 4x 1/2" nuts that hold the steering column as well as the wiring so I could wiggle and finally get the clutch/brake pedals where they needed to be, and let me just say it was a PAIN!
•Install the brake booster, rod, and 4x 9/16" nuts
•Install brake light switch.
•Install 2x 10mm bolts on top of assembly
•Install clutch master cylinder and connect to pedal
•Install 2x 9/16" clutch master cylinder bolts
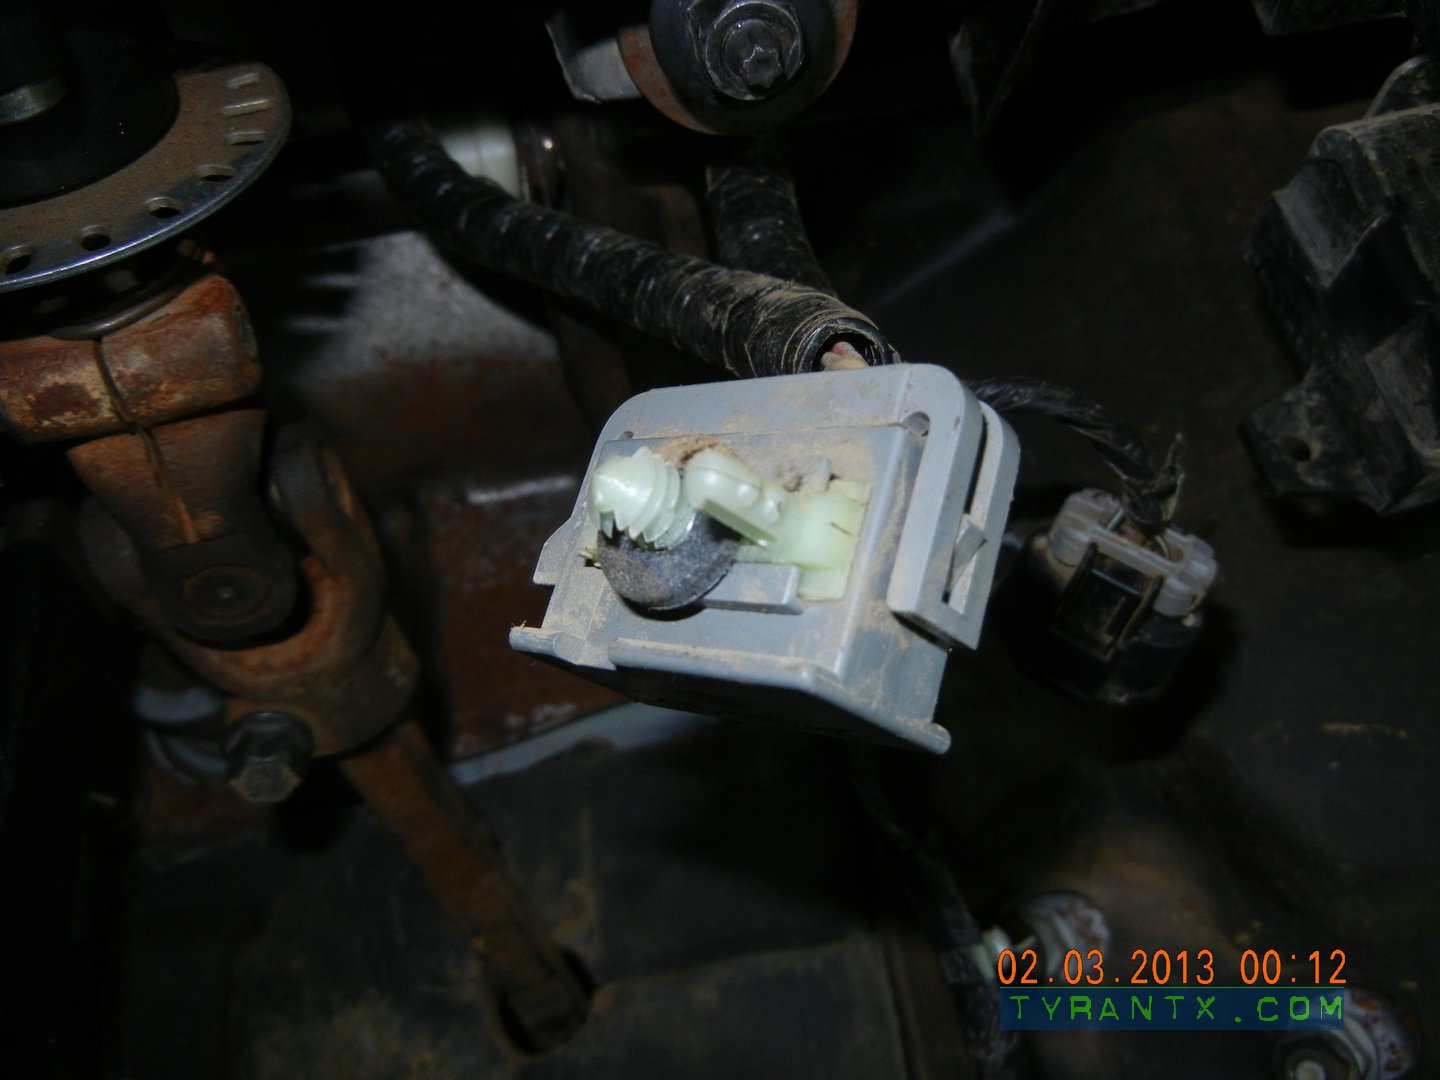
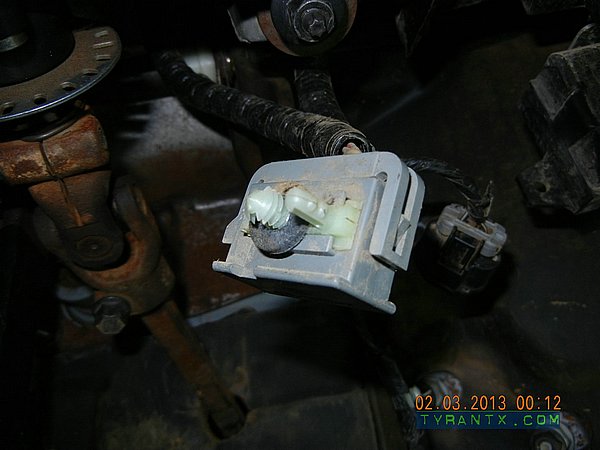
•Locate clutch safety switch, unplug the cap and plug into clutch safety switch. (automatics have the pigtail, just look for it)
NOTES: I removed the go pedal to have more room to work, I'm sure that you don't have to, but if you want to there are 2 sensors to unplug and then just 3 bolts and it comes right off.
Flywheel, Clutch, and Pressure Plate Install:
•Make sure you have removed the one inch aluminum spacer that bolts between the engine crank and the torque converter and make all mating surfaces clean (else you will wear your clutch and other parts).
•Install flywheel, you can only position one way due to the key.
•Hand tighten the 10 bolts.
•Tighten the bolts to about 50 ftlbs in a criss cross pattern.
•Retighten the bolts to spec in a criss cross pattern.

•Clean the friction surface with a rag and NON CHLORINATED brake cleaner.
•Install clutch using clutch alignment tool, make sure to have the correct side facing the flywheel (it will be marked on the clutch).
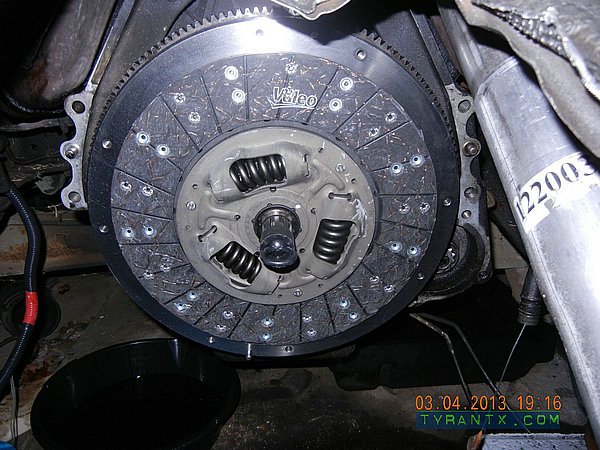
•Clean pressure plate friction surface with a rag and NON CHLORINATED brake cleaner to remove oil.
•Install pressure plate, use dowel pins for guides
•Install 8x 13mm bolts and lock nuts, only hand tight.
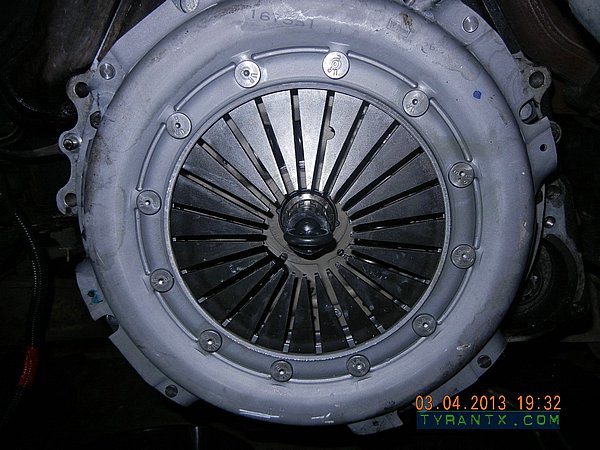
•Wiggle the clutch around using the clutch alignment tool and make sire to get it in the center.
•Torque down the 8x 13mm pressure plate bolts in a criss cross pattern
NOTES: Make sure to get the oil that comes from the manufacturer off the flywheel and pressure plate, it's not some kind of conditioning oil, it will destroy your parts if you leave it! On second thought, don't get lazy at all, make sure everything is right, even if you have to take the whole thing back off to make sure, you don't want to have to do it all over again! Make sure to use NON CHLORINATED brake cleaner on these parts, I hear it's important but I couldn't tell you why.
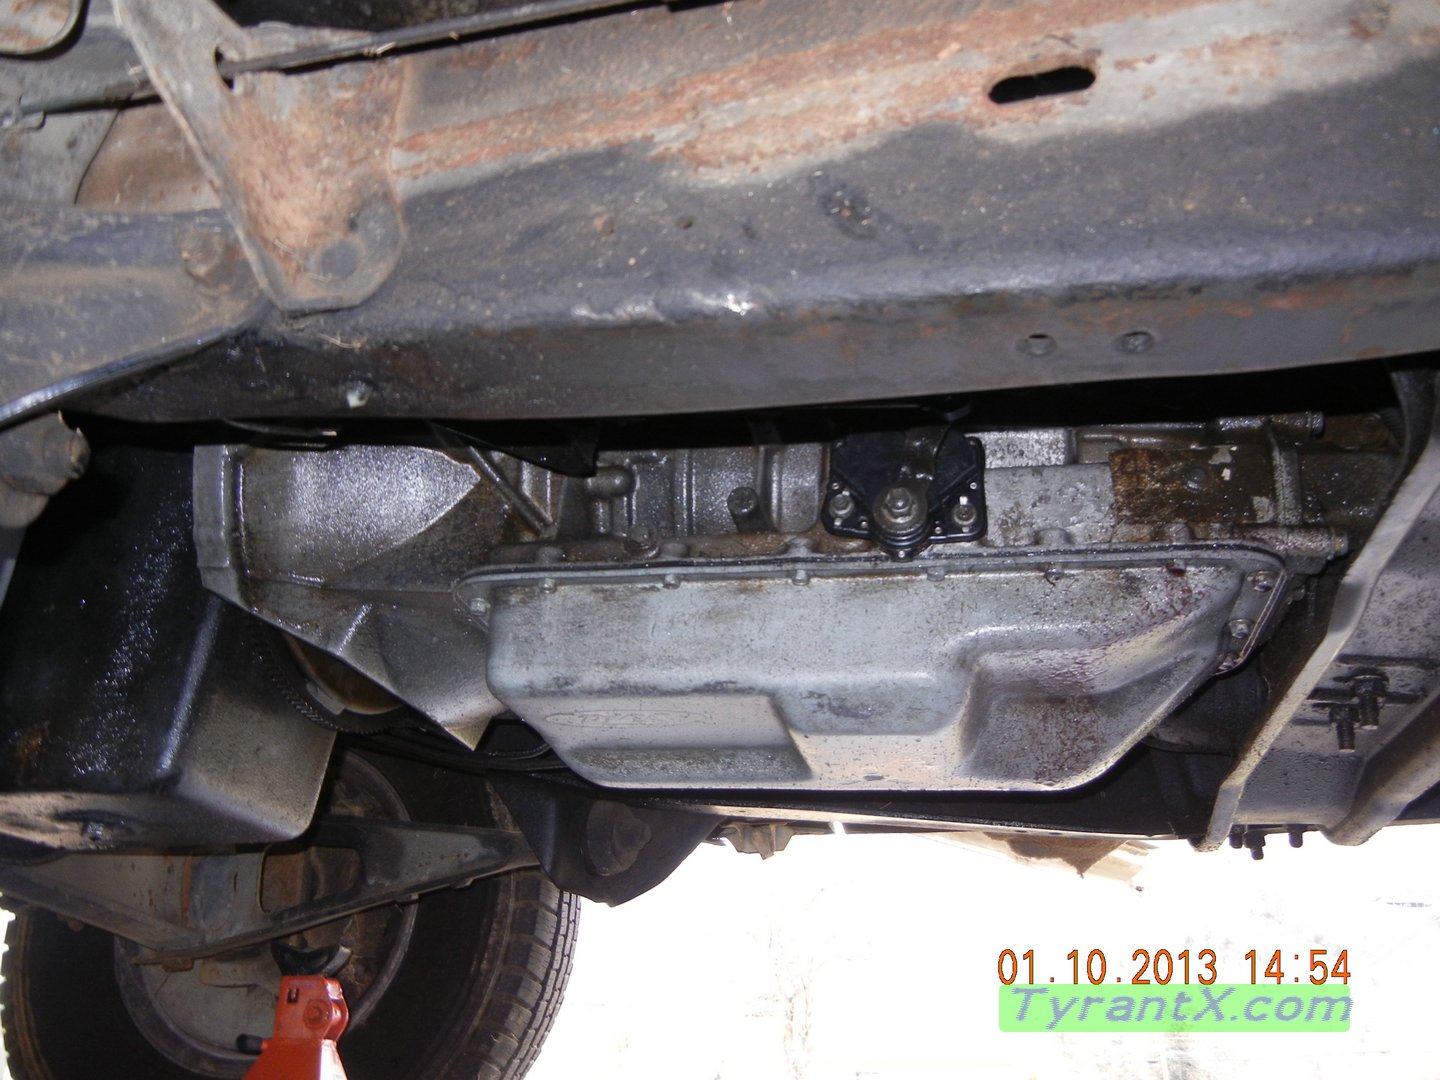
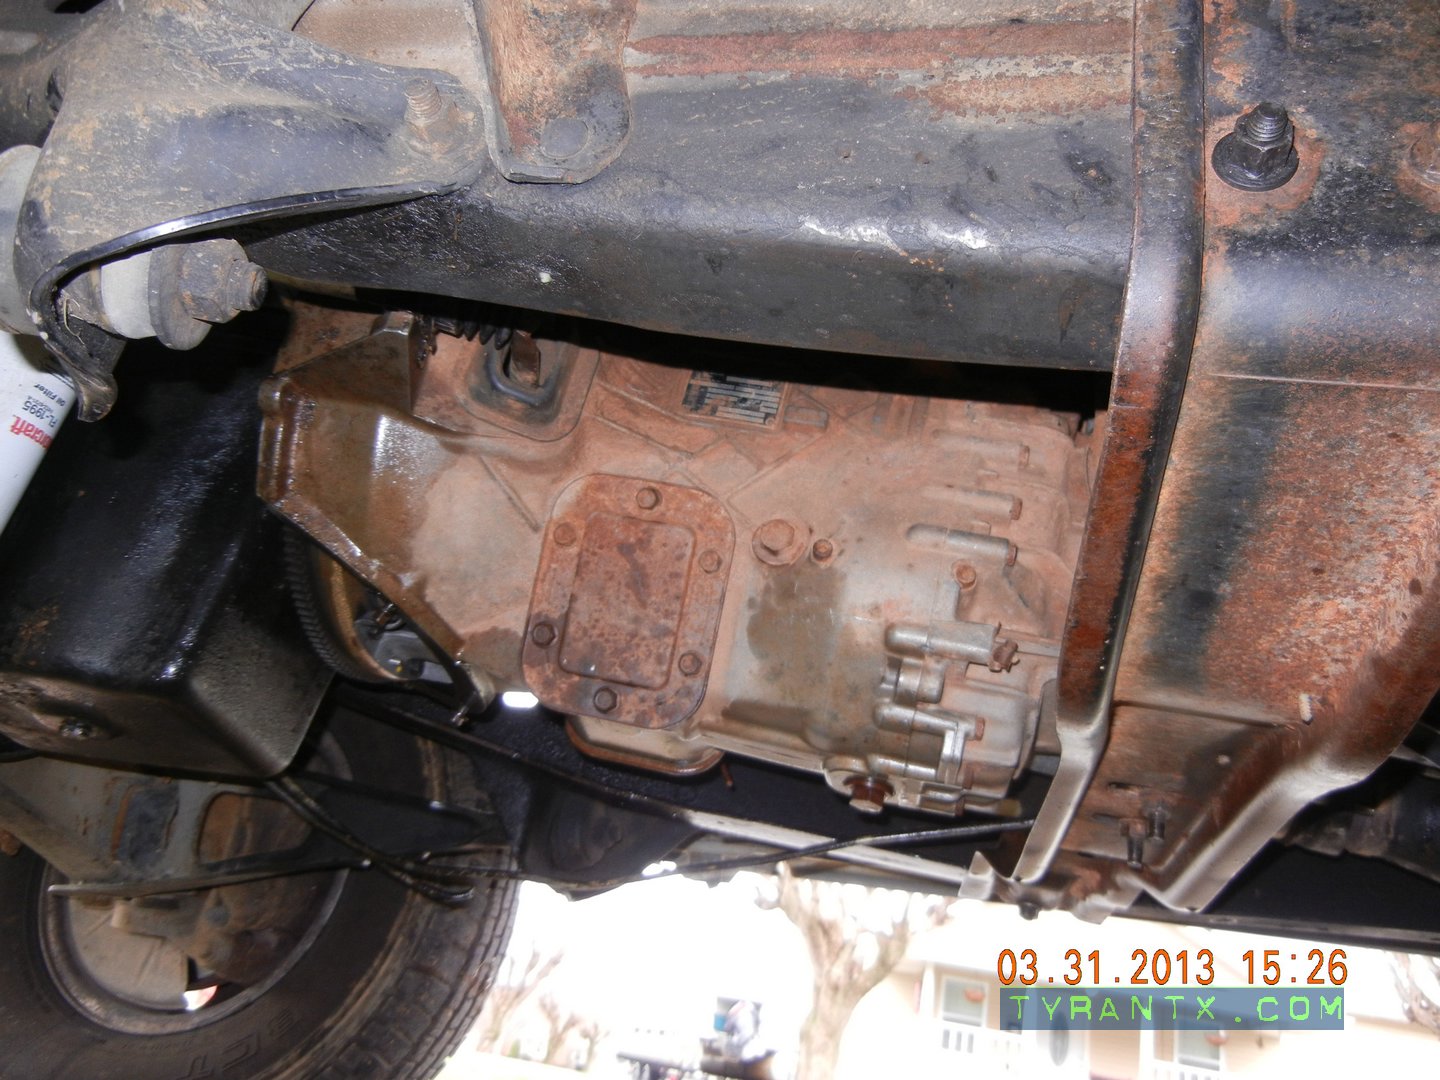
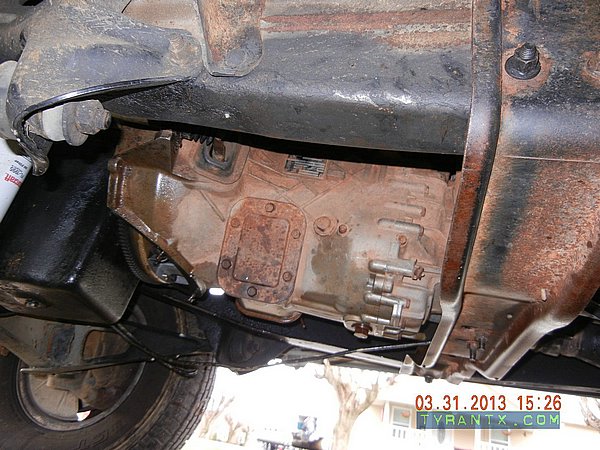
Transmission Install:
•Secure your transmission on a jack and place under truck
•Carefully lineup the input shaft with the clutch teeth and slide in. You will need to rotate the tail shaft to get the teeth to line up (DO NOT USE BOLTS TO FORCE TOGETHER).
•Torque down bell housing bolts
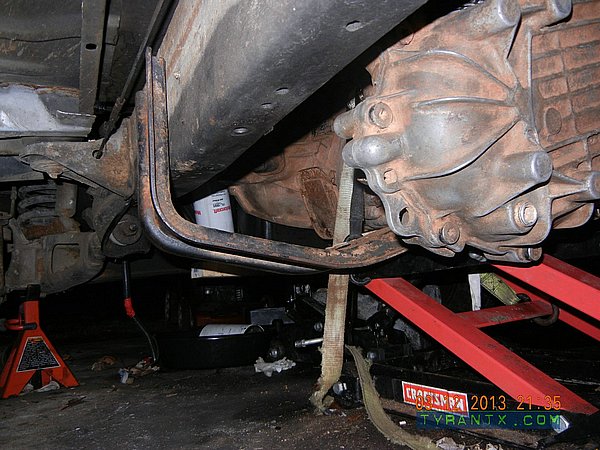
•Install cross member and tighten down bolts (since mine was from a older donor I had to drill new cross member bolt holes in the frame)
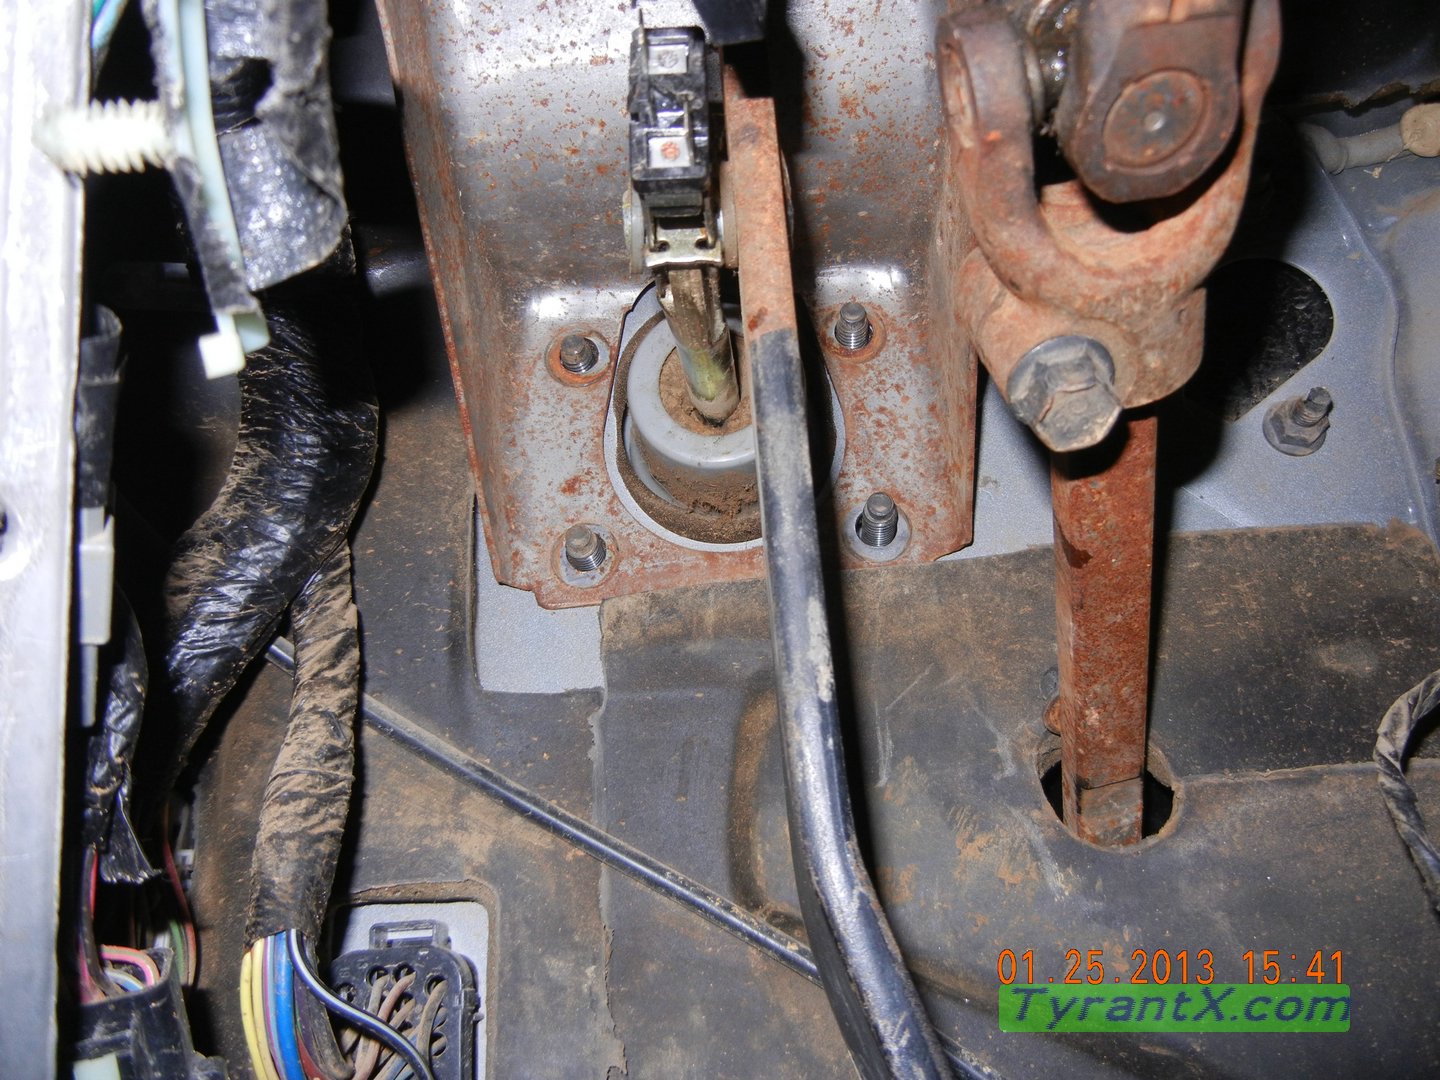
•Install clutch slave cylinder and check operation
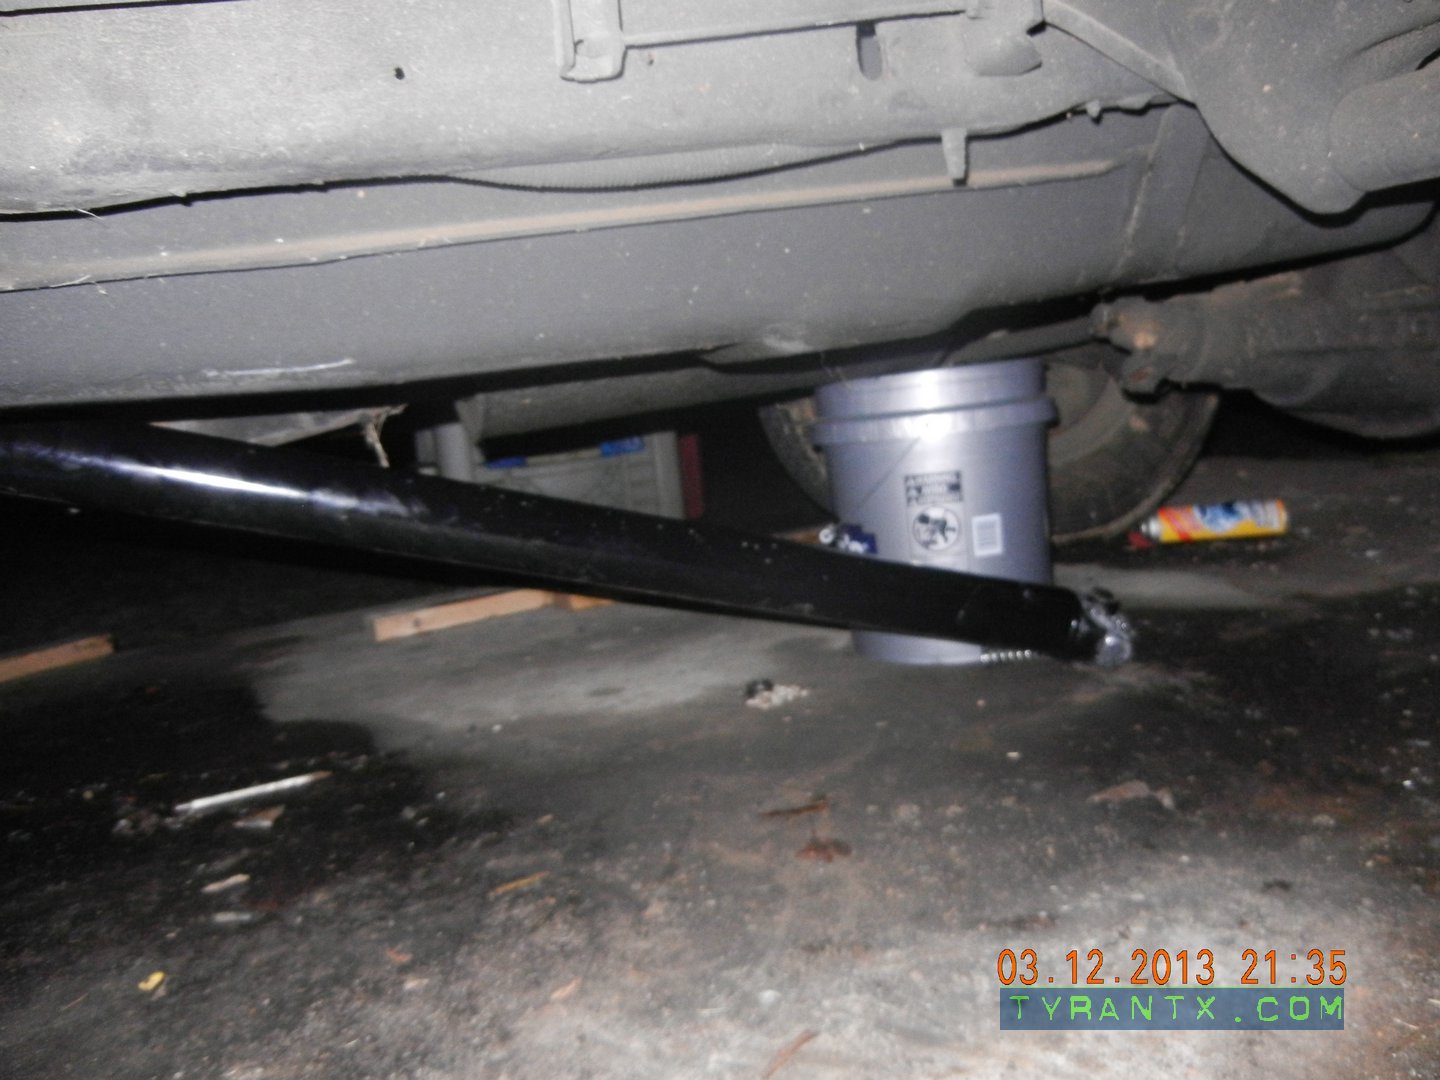
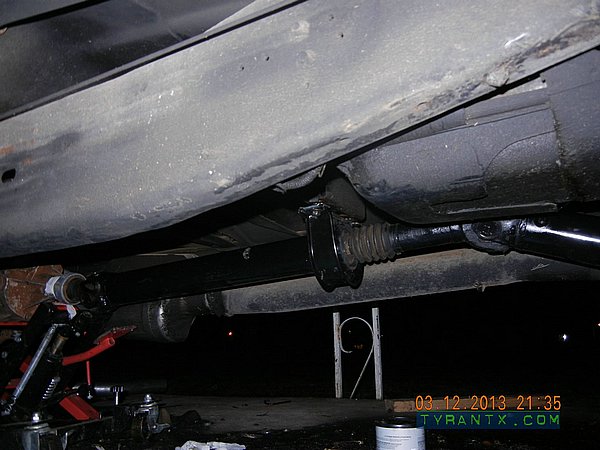
•Install driveshaft (s), if you may need to have the lengths modified depending, you will need to wait until you have the transmission bolted up to check or get measurements to have it shortened as I did.
•(optional or if you haven't done it and it is used) Drain and replace transmission lube, replace with regular Synthetic Mercon AT fluid
•Connect harness to plug on back of transmission (and transfer case if you have one)
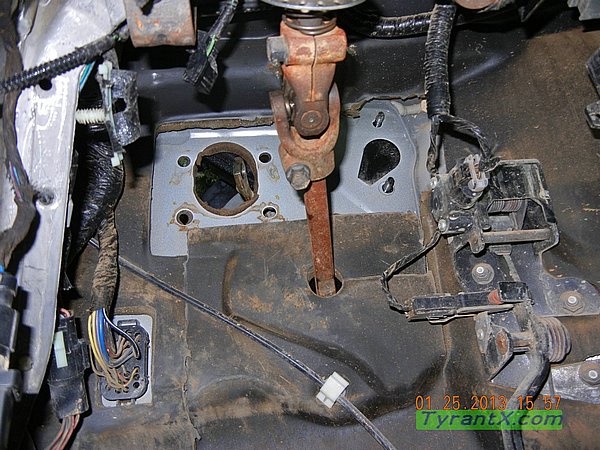
•Install floor cover
•Install floor pan
•Install lower shift boot
•Install shifter
•(if you have 4x4) Install shifter for transfer case
•(optional if it is used) Replace fluid.
•Install clutch inspection plate cover
NOTES: DO NOT USE BOLTS TO FORCE TRANSMISSION TO GO INTO PLACE!!! Make sure to secure your transmission to the jack. Don't do this outside in the freezing cold when it is snowing, it's not as fun as any other time, that's what I did. A clean floor would make using the transmission jack alot easier and safer. Make sure your flywheel and clutch disc fits your transmission first off. Your rear drive shaft will more than likely not fit without being shortened, it just depends on what you are converting from and you cannot bother to measure it until you have your new trans in place. My truck was one of those that has the hard loop idle at start up, so before long I'll be getting a 6pos chip and the problem will go away with the new programming.
This was a awesome project, the general do it yourself mechanic can tackle this at home, no special tools are needed but every now and then another set of hand sure would come in handy! Though my transfer case pops out of 2WD so apparently I am still not done, but I'm so glad I ditched that automatic .
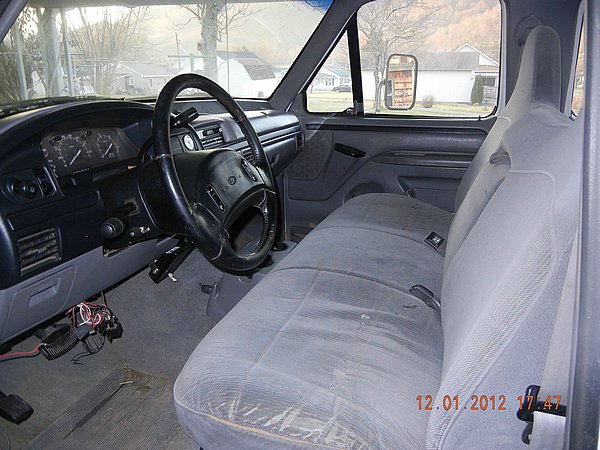
BEFORE (E4OD AUTOMATIC)
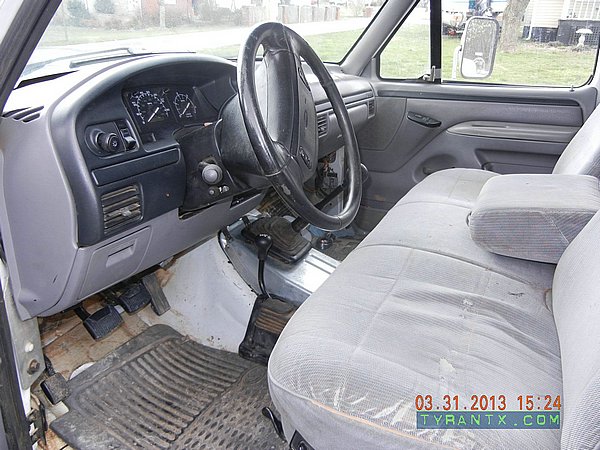
 | AFTER (ZF5 Manual)
 |  |  |  |  | Final thoughts and notes:
When buying used, you never know what you are getting... My transmission was in good shape but the transfer case wouldn't stay in gear so I had to remove it and found another used one and thank God it was in good working order. I threw away my carpet and some day I will buy a vinyl/rubber floor to put it. All in all the whole swap was well worth it, glad to have a 5 speed finally!
I found out that if your PSD needs a transfer case they are the same exact ones that are on the back of the gassers, the Borg Warner 1356 that I got from a 94 gasser was the same as the Borg Warner 1356 that was on the back of my diesel transmission. This makes finding a transfer case much easier and cheaper.
If you are doing a down pip install with a transmission install, just put the first section of pip on the turbo and do not finish the exhaust until you are done with the transmission, it makes work MUCH easier and faster.
I had read to check your dowel pin dept on the back of the engine to make sure the transmission has enough clearance for them but my transmission had holes all the way though for the pins so it didn't matter how long the dowel pins were. My Costs:
ZF5 Conversion $1166 shipped
Clutch and PP $175
Flywheel $165
Rear Drive shaft labor $160
Clutch Master/Slave cylinder and line prefilled $112 (Amazon gave me another $47 off for leaving out the push rod and switch so that was a EXCELLENT DEAL THERE, I had ones from the donor!)
U Joins x3 (bought cheap Federal ones) $7 x 3
Carrier Bearing $30
Second transfer case $75
Transmission jack rental $33
Misc supplies $50
AT Fluid $35
So in the ball park of $2000 I was able to do my swap, it was well worth it. Now I need to point out some of the items I got with my conversion kit I sold, like the clutch and flywheel set it was off a 94 and it wouldn't fit my 97, the steering column from the donor (I kept my automatic shifter and all), and then I also sold all my automatic junk as well, I did my swap outside in the cold and it was snowing when I was mating up the transmission to the engine BURRR WILBUR!
March 20 2013 - the entire conversion was complete.
June 2013 - Nearly 3 months later and the swap was more than worth it, towing is great. I've pulled a 5k trailer with a 10k forklift on it without any trouble! So glad I did not listen to the lazy people that just suggest fixing the auto, the swap was even fun to do and now I have it the way I want it.
If you personally prefer a manual over a auto and are considering the conversion, I suggest doing the conversion and get what you want. If you have the skill to remove and replace a transmission then you can do the swap, it's not that difficult. |
|